Tomcat manager Application: A Word Of Caution
About the manager application
More about manager
For more information about the Tomcat
manager
application, see the Tomcat Manager App HOW-TO documentation.
- "Free" web application that comes with Tomcat distribution.
- Lives in the
managerdirectory in the Tomcatwebapps/directory. - Allows Tomcat administrators to deploy, undeploy, or reload web applications such as the TDS without having to shut down and restart Tomcat.
- Provides server status statistics for the JVM and each connector you have configured in
server.xml.
Accessing the Tomcat manager application
Changes to the manager application
The
manager
application URLs and roles has been re-structured. See the Tomcat Migration guide for more
information.
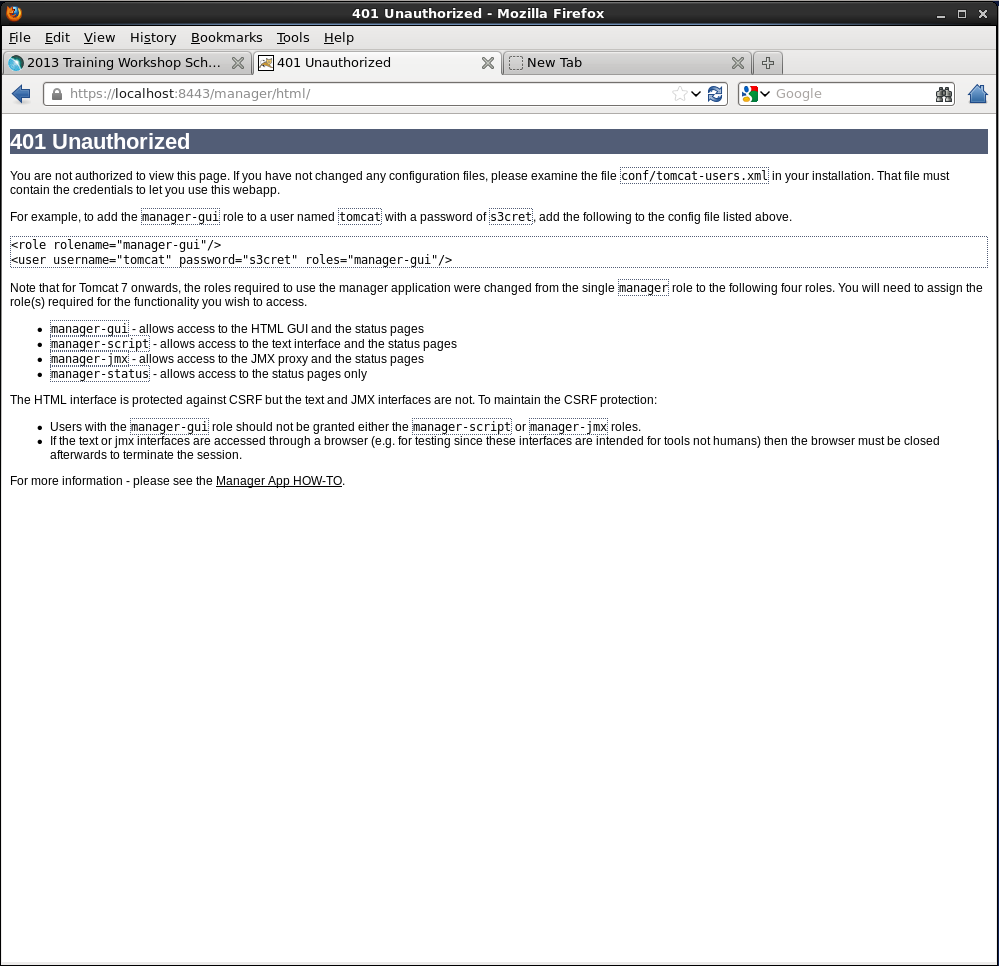
Attempt to access the Tomcat
manager
application in your browser: http://localhost:8080/manager/html/. You will be prompted to login
via BASIC authentication, which will end in failure since we do not yet have permission to access the
manager
application:
Based on what we know about Tomcat configuration, which file in the Tomcat
conf/
directory should we edit to grant ourselves access to the
manager
application?
Granting access to the manager application
- Modify
tomcat-users.xmlto add auserelement. - Restart Tomcat and log into the
managerapplication.
Using your favorite editor, open
${tomcat_home}/conf/tomcat-users.xml
:
$ vi tomcat-users.xml
The roles of "manager-gui", "manager-status", "manager-script", and "manager-jmx" are pre-defined in Tomcat 7.
Now add a new user by adding a
user
element. Create a
username
and
password
for the new user and specify
manager-gui
as one of the
roles
(in this example we are creating a user called 'admin' with a corresponding password of 'secret'):
<tomcat-users>
    <role rolename="manager-gui"/>
    <user username="admin" password="secret" roles="manager-gui"/>
</tomcat-users>
Keep in mind
Changes to
tomcat-users.xml
do not take effect until Tomcat is restarted.
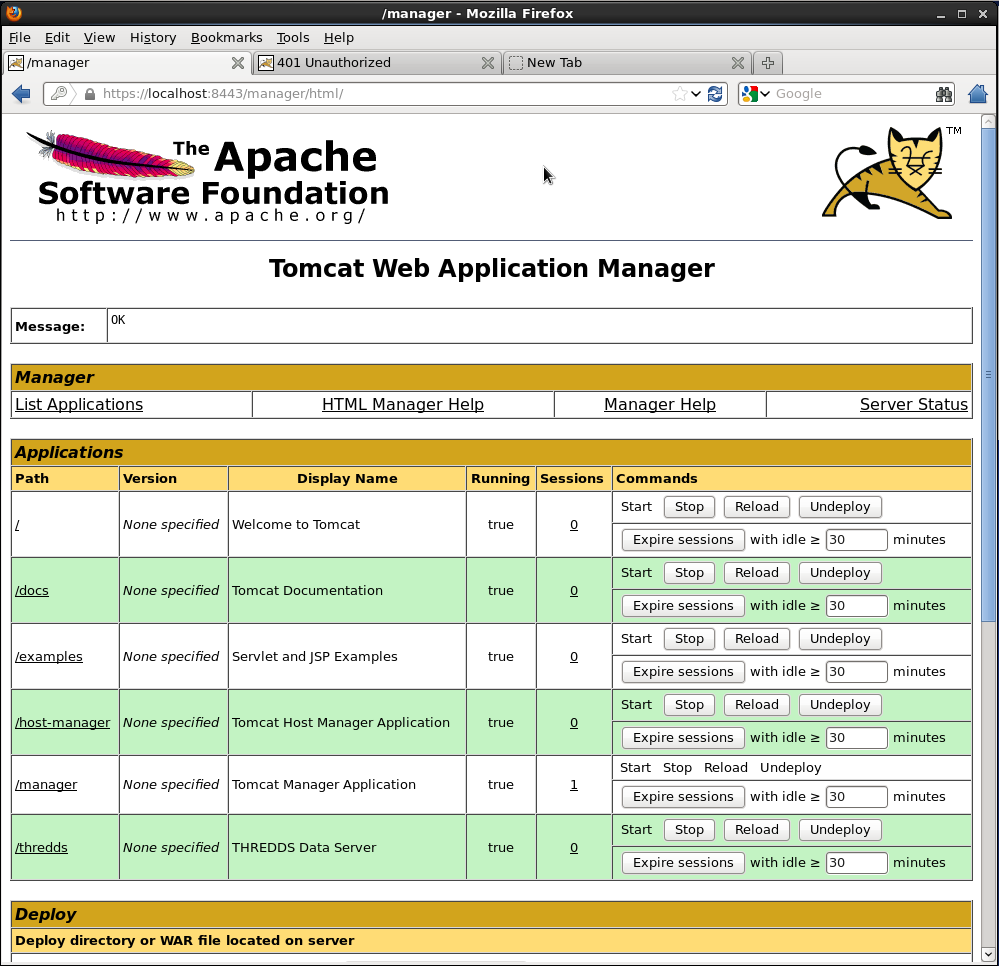
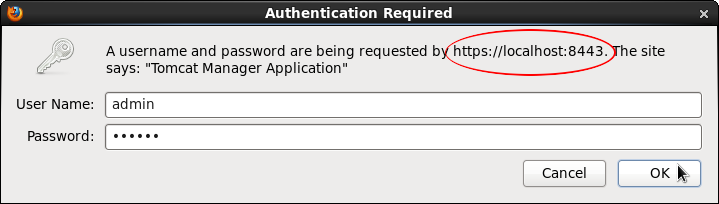
Attempt to access the
manager
application again (http://localhost:8080/manager/html/), this time logging in using the
name
and
password
specified in
tomcat-users.xml
:
Thinking ahead
To gain access to restricted parts of the TDS, you will perform the same steps you used to grant yourself access to the
manager
application.
Voilà! You should have access to the manager application.
Troubleshooting tips
- Check the XML syntax in
tomcat-users.xmlto make sure it is well-formed and without error. - Did you restart Tomcat after you made your changes to
tomcat-users.xml? - Any errors will be reported in the Tomcat
logs/catalina.outfile.
Caveat of the manager application
PermGen info
For a really good description of the issue, see this series of three articles:
- "Return of the PermGen" (2007-09-29)
- "PermGen Strikes Back" (2007-03-15)
- "Good Riddance PermGen OutOfMemoryError" (2007-03-13)
The dreaded
java.lang.OutOfMemoryError: PermGen space failure
error:
- The issue: The "PermGen" error happens when the JVM runs out of memory in the permanent generation. (Default PermGen size differs among Sun JDK versions, but the upper limit is typically 64MB.)
- The cause: Objects in the permanent generation are never garbage collected. When redeploying your web application using the Tomcat
managerapplication, your WAR file is unpacked and parts of the class file definition are loaded into PermGen space, like string constants. - The symptom: The PermGen error will manifest itself in a sluggish Tomcat
managerapplication that never completes a task, and thejava.lang.OutOfMemoryError: PermGen space failureerror being displayed in${tomcat_home}/logs/catalina.out - A temporary fix: You can add the
-XX:MaxPermSizeswitch to$JAVA_OPTSto increase the amount of memory allocated for the permanent generation, However this is only postponed the inevitable, as even an increased memory in permanent generation will eventually fill up. When this happens, you will need to stop/start Tomcat at this point. For this reason, you may want to restart Tomcat whenever you redeploy TDS or another webapp.
 This document is maintained by Unidata staff.
Please send comments to THREDDS support.
This document is maintained by Unidata staff.
Please send comments to THREDDS support.