Unidata's Integrated Data Viewer > Dashboard > Choosing Data Sources

3.4.8 Choose RAOB Data (atmospheric balloon sounding)
You can access RAOB data either from remote ADDE servers (using the
Soundings: Remote chooser, pictured below) or from local files
(using the Soundings: Local chooser). The only difference between
these two choosers is specifying the source of data. You either select an ADDE
server and press or you select a file containing RAOB
data.
As a local file, the IDV has the capability to handle GEMPAK upper air format
data. The GEMPAK upper air files must have the .gem extension to be read by the
IDV.
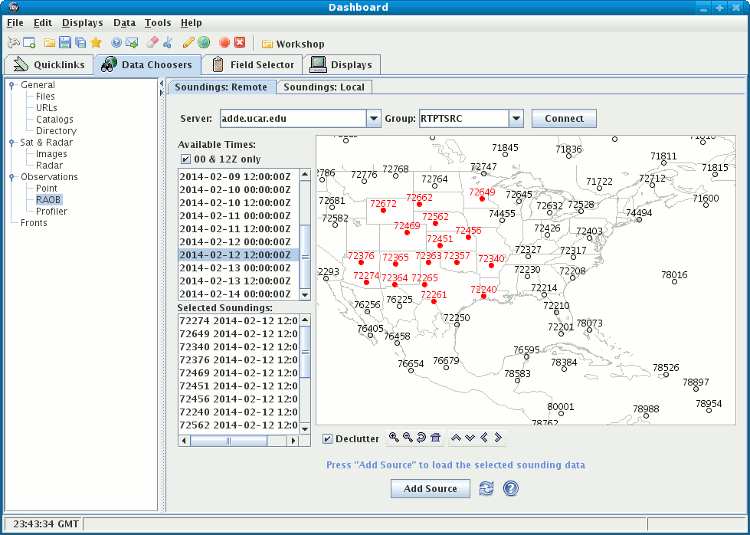 Image 1: RAOB Chooser
- Choose the server or the local file. The list of times will be
displayed. In this chooser you select particular stations at particular
times.
- Select a set of dates and times that you want to use.
To select more than one time use Control-Click or Shift-Click.
- Select one or more stations for the given time using the map.
See below for more information on
how to use the station map.
- Once selected the station/time combination will be shown in the
Selected Stations.
- When done, load the selected RAOB data with the [ug::button Add Source] button.
Choose Single Level RAOB Data
RAOB data can also be selected (from an ADDE server) as a single level.
This data can then be displayed as a station model.
 Image 2: Single Level RAOB Chooser
- Select an ADDE server and data type and press [ug::button Connect].
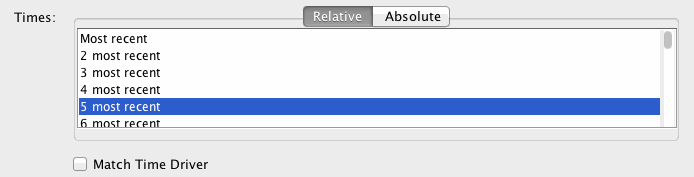
- You may choose a relative set of times steps (e.g., Last 5 times):
- Or, choose a set of absolute times (e.g., 12Z, 1Z):
 |
When choosing
absolute times for the first time the IDV needs to query the ADDE server
for the times. This may take some time.
Times can be selected in the list or the time line
(use control/click or shift/click in the list to select multiple times).
See the Timeline section for details on its use.
|
- Or, match the times of the current active display window:
 |
This assumes the current active display window has a display with the time driver set. A
display can be set as a time driver in the Time Subset panel
in the Field Selector tab or the
View menu in the Dashbaord's Displays tab.
|
- Select the level you want to view.
- Optionally select the station model to be used for displaying this data.
- When done, load the selected RAOB data with the [ug::button Add Source] button.
Unidata's Integrated Data Viewer > Dashboard > Choosing Data Sources