

Unidata IDV Workshop for version 7.0u1 > IDV and RAMADDA > Installation and Configuration

6.0.0 OS X Installation
Installing on OS X
Installing RAMADDA involves the installation of these three software packages:
- Java
- Apache Tomcat
- RAMADDA
We will now go through each of steps in detail. You will need to know how to open the Terminal.app located in the Applications > Utilities folder and issue Unix shell commands. You also must have sudo privileges.
Java Installation (instructions borrowed from Adobe)
- Go to Applications > Utilities > Java Preferences
- Open the Java Preferences
- If Java is not installed, you will receive the following message:
- Click Install and accept the license agreement. The Java runtime is downloaded and installed.
Tomcat Installation (instructions borrowed from Wolf Paulus)
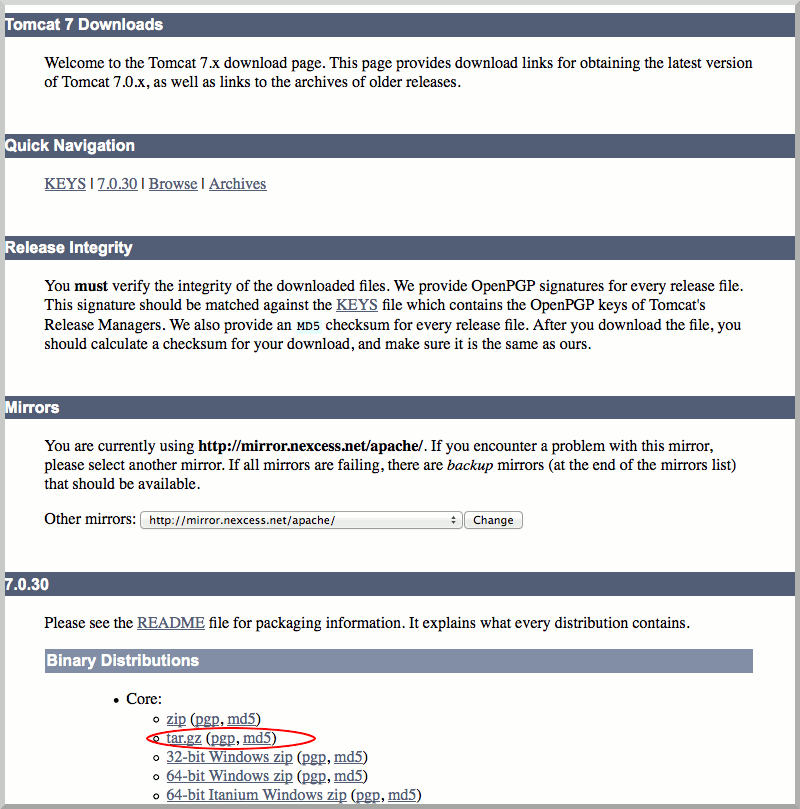
- Download a tar.gz binary distribution of the Apache Tomcat core module.
- Unarchive the tar.gz file. You can uncompress this file with the Unarchiver. This action should result in a file called
apache-tomcat-x.y.z in your Downloads folder. (x.y.z stands for the particular version of Apache Tomcat you downloaded)
- Start the Terminal.app and issue the following commands
-
sudo mkdir /usr/local
-
sudo mv ~/Downloads/apache-tomcat-x.y.z /usr/local
-
sudo ln -s /usr/local/apache-tomcat-x.y.z /Library/Tomcat
-
sudo chown -R your_username /Library/Tomcat
-
sudo chmod +x /Library/Tomcat/bin/*.sh
RAMADDA Installation
- Download the RAMADDA WAR (web application archive) file.
-
mv ~/Downloads/repository.war /Library/Tomcat/webapps
-
/Library/Tomcat/bin/startup.sh
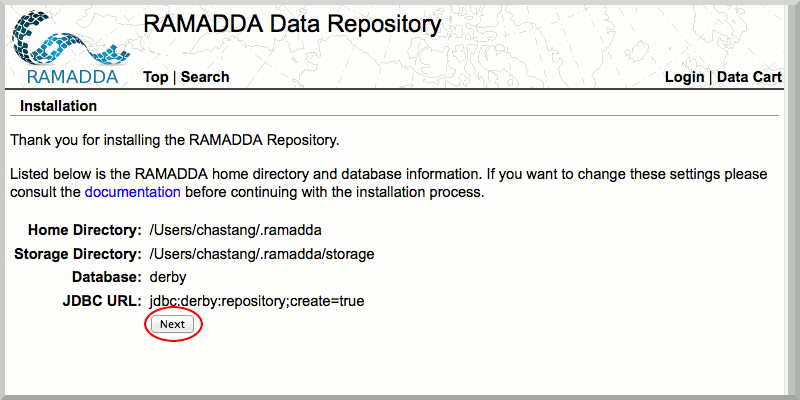
- In your browser, navigate to http://localhost:8080/repository If you see the following screen, you have successfully installed RAMADDA.
You are now ready to to set up the admin account in RAMADDA.


Unidata IDV Workshop for version 7.0u1 > IDV and RAMADDA > Installation and Configuration


