

Unidata IDV Workshop for version 7.0u1 > IDV and RAMADDA > Installation and Configuration

6.0.1 Windows Installation
Installing on Windows
Installing RAMADDA involves the installation of these three software packages:
- IDV
- Apache Tomcat
- RAMADDA
We will now go through each of steps in detail.
IDV Installation
- Install the latest version of the IDV
Tomcat Installation
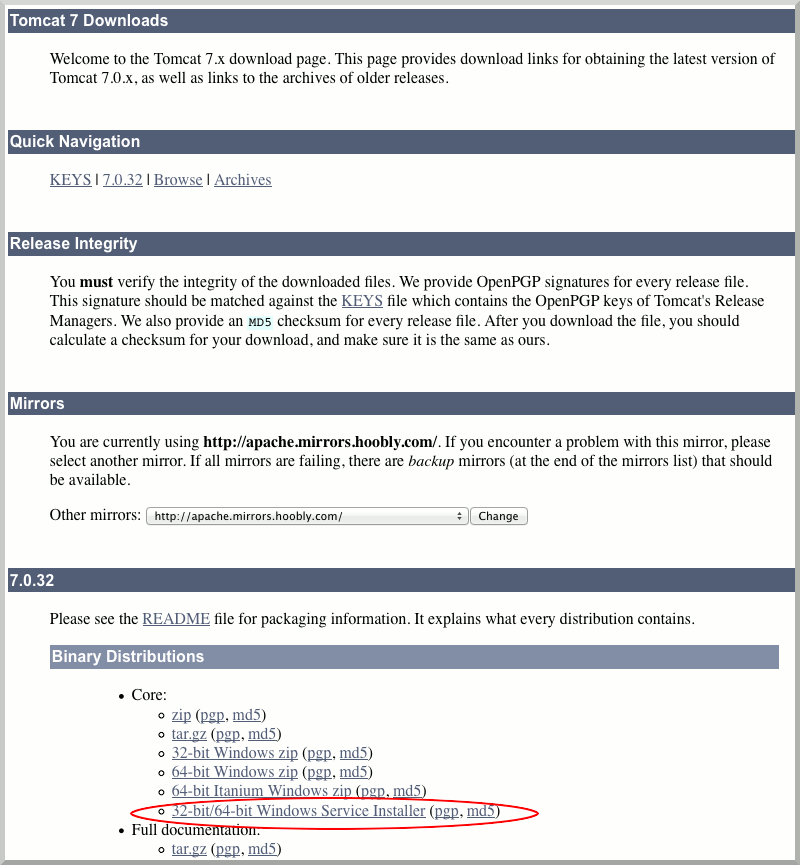
- Download the Windows Service Installer of the Apache Tomcat core module to your Desktop.
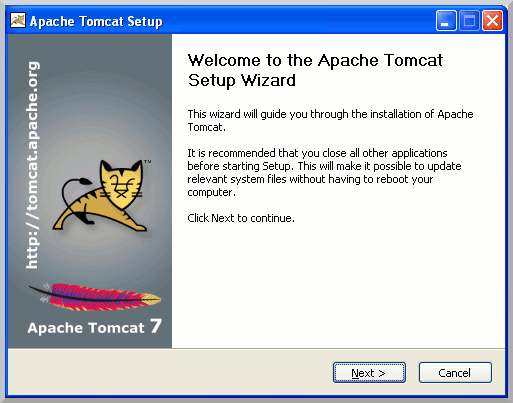
- Double click on the apache-tomcat-x.y.z icon. (x.y.z stands for the particular version of Apache Tomcat you downloaded)
- Allow the Tomcat installer to run on your computer.
- Click Next
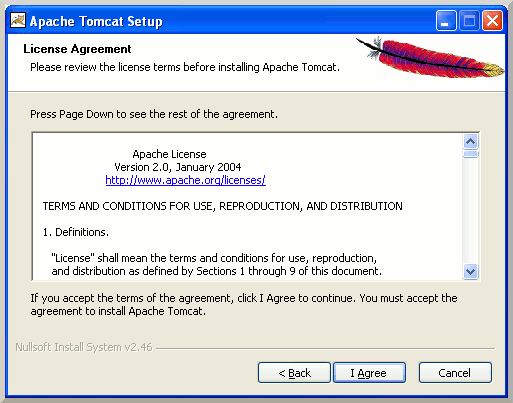
- Accept License Agreement
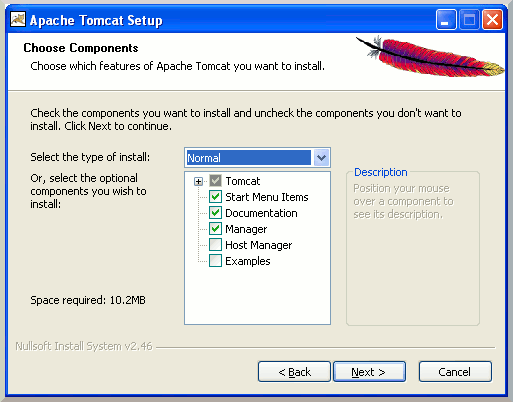
- Accept the default components. Click Next
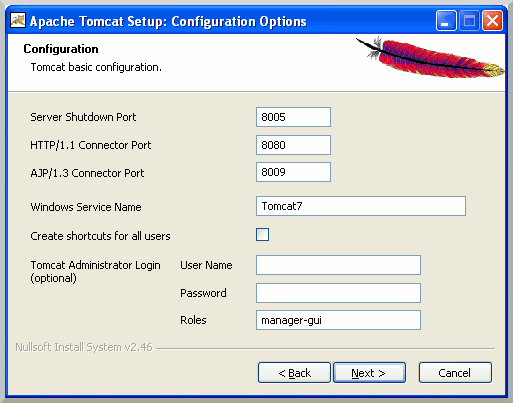
- Accept default configuration options. Click Next
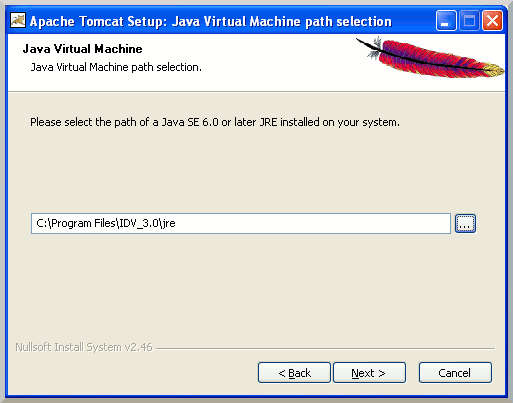
- Choose the Java Virtual Machine in the IDV directory
(e.g. C:\Program Files\IDV_3.0\jre)
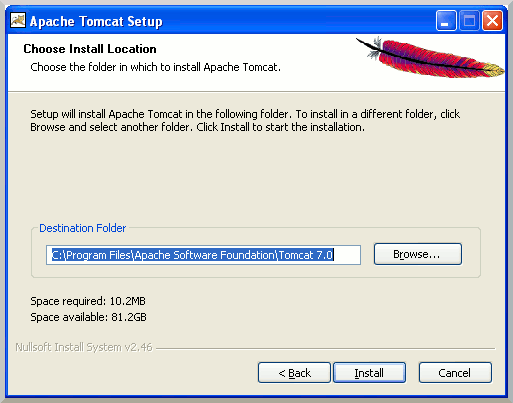
- Accept default installation location. Click Install
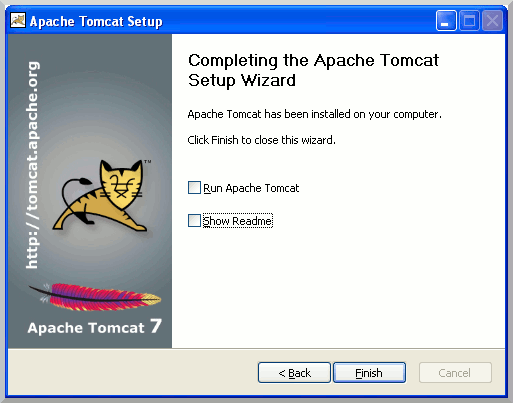
- Unclick "Run Apache Tomcat" and "Show Readme", and Finish.
- Open Windows Explorer and go to
C:\Program Files\Apache Software Foundation
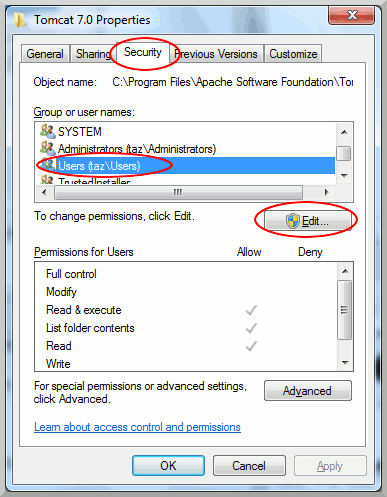
- Right click on Tomcat 7.0 folder and select "Properties", "Security" tab, select "Users", click "Edit"
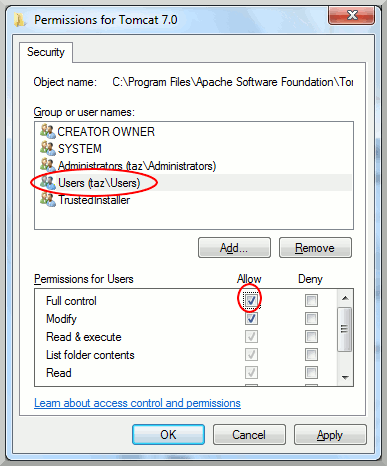
- Select "Users", check "Full control", click OK, click OK again
RAMADDA Installation
- Download the RAMADDA WAR (web application archive) file.
- Save the RAMADDA WAR file to
C:\Program Files\Apache Software Foundation\Tomcat7.0\webapps
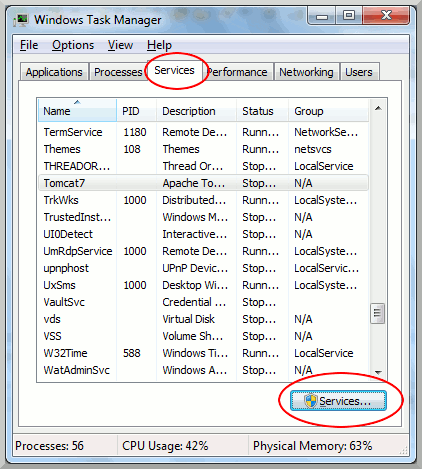
- Start your Windows Task Manager(CTRL+ALT+DELETE, and then click Task Manager).
- Select the "Services" tab, and click on the "Services" button.
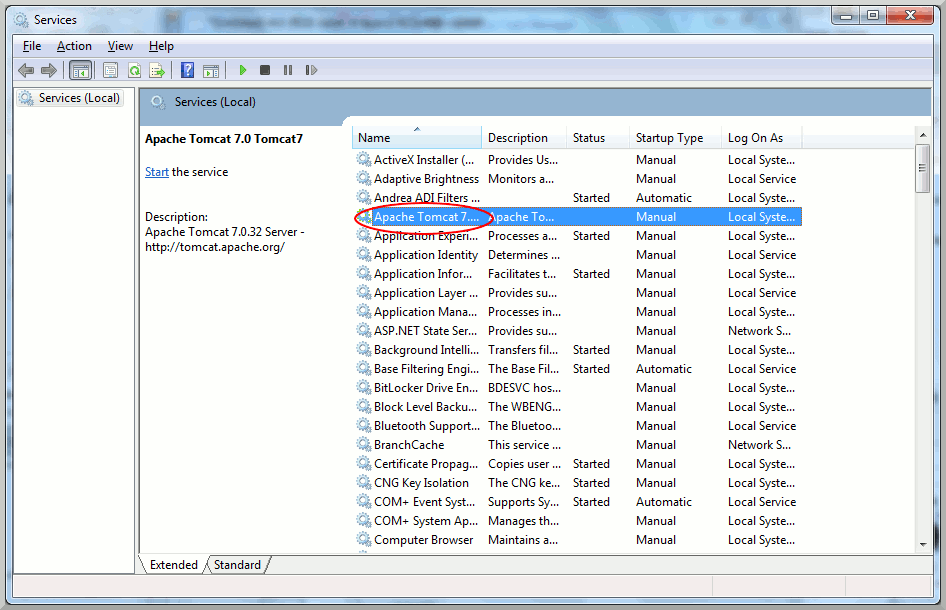
- Select the "Apache Tomcat 7", right click and select "Properties".
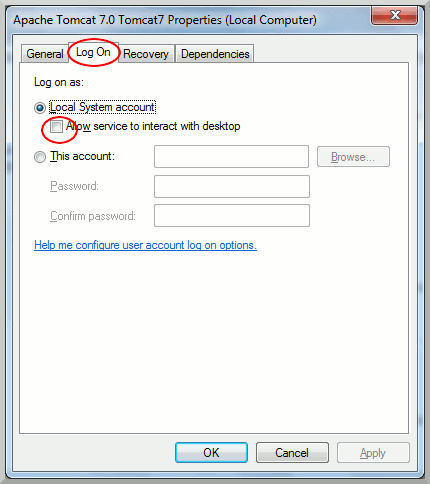
- Go to "Logon" tab, "Local System account", do NOT check "Allow service to interact with desktop".
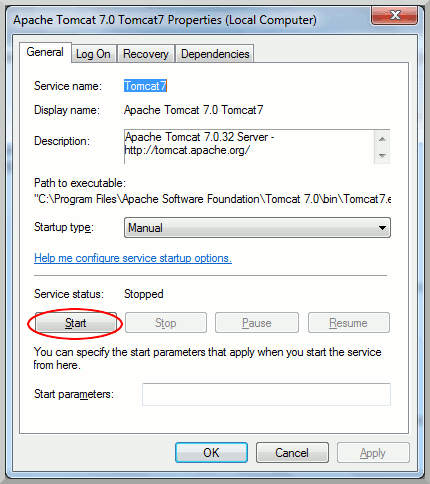
- Go to the "General" tab and click "Start" the service.
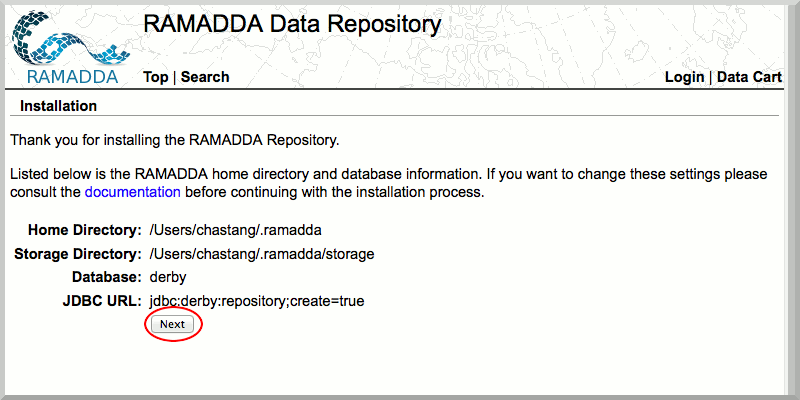
- In your browser, navigate to http://localhost:8080/repository If you see the following screen, you have successfully installed RAMADDA.
You are now ready to to set up the admin account in RAMADDA.


Unidata IDV Workshop for version 7.0u1 > IDV and RAMADDA > Installation and Configuration
