Previous: Choose  Satellite Imagery Next: Choose  NEXRAD Level II Radar Data Table of contents Images Frames Unidata's Integrated Data Viewer > Dashboard > Choosing Data Sources

3.4.4 Choose NEXRAD Level III Radar Data
The Radar chooser contains three sub-tabs that allow you to choose NEXRAD Level III data on remote ADDE servers or NEXRAD Level II/III data from your file system or a remote THREDDS Data Server (TDS).
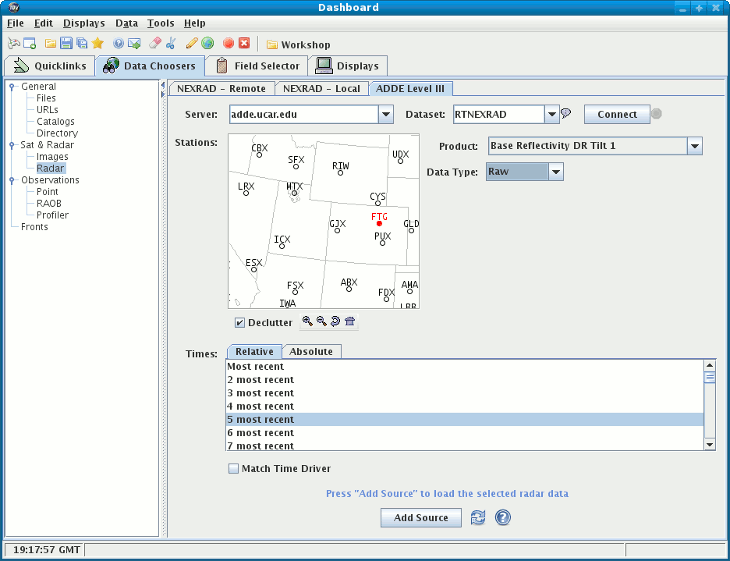
Level III Radar Chooser
Image 1: Level III Radar Chooser
The Level III chooser works similarly to the Image chooser described above:
  1. Choose an ADDE Server and a Dataset to use:

  2. Press Connect:
    This causes the IDV to query the server for available radar types and stations.

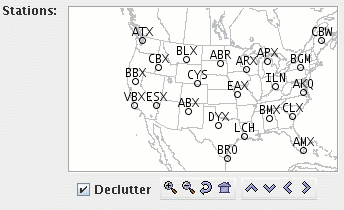
  3. Select a station using the map:

  4. Select a radar type:
    Once a station and a radar type has been selected the ADDE server will be queried as to the available times. Optionally, you can override the default data type that is returned.

  5. You may choose a relative set of times steps (e.g., Last 5 times):

  6. Or, choose a set of absolute times (e.g., 12Z, 1Z):
    When choosing absolute times for the first time the IDV needs to query the ADDE server for the times. This may take some time. Times can be selected in the list or the time line (use control/click or shift/click in the list to select multiple times). See the Timeline section for details on its use.

  7. Or, match the times of the current active display window:
    This assumes the current active display window has a display with the time driver set. A display can be set as a time driver in the Time Subset panel in the Field Selector tab or the View menu in the Dashbaord's Displays tab.

  8. When done, load the selected radar data with the Add Source button.


Previous: Choose  Satellite Imagery Next: Choose  NEXRAD Level II Radar Data Table of contents Images Frames Unidata's Integrated Data Viewer > Dashboard > Choosing Data Sources